

We interrupt our regularly scheduled non-sense on Roman history and coins of all flavors to bring you a how-to that seems to be lacking in a world that is drowning in ‘how-to’s. My beloved and I have decided the most ethical position is to not leave our front gate unless wearing a mask. Do I think my kiddos and I will catch Covid-19 from walking around the block? No. But habits become habitual through practice. Correct mask usage is a good public health practice and the more who do so, the more others will be comfortable doing so. We are wearing masks to ingrain the practice in ourselves and signal to our neighbors that we not think it is weird, threatening or overkill if they do so too.
Problem is that we don’t have kid-sized masks and such small masks aren’t regularly available for purchase. I tried putting a regular 3 ply disposable adult mask on them with the ear loops knotted to shorten them, but that covered too much and made it too hard to see, and thus really tempting for them to touch the mask. I tried to do the no-sew CDC official design. Kept slipping off, they hated how hot it was because of all the layers, and the rubber bands on the ears were also loathsome. I don’t have a sewing machine. I don’t have any elastic, but I can sew a button and do have some spare t-shirts. This is what I came up with.
I have twins so I did this Covid-craft twice. Bonus: you get to learn from my mistakes!
One content warning: I have the hands of a gardener and the close ups aren’t pretty. 😉
TIME: one hour per mask.
Gather materials:

Work out how big is too big so one can aim for smaller. Standard mask is about 7 x 4 inches (roughly 18 x 10 cm.) Realize that one of the nice things about that store bought mask is the bendy bit at the nose. Find a pipe cleaner or a bit of wire.


Cut out a bottom rectangle. I cut mine 6 inches by just shy of 4 inches – the long side up the side of the t-shirt, the short side on the heavy bottom edge. (You can use that sewing needle as a pin to briefly mark the place if you like.)


Open cut piece of cloth and insert pipe-cleaner or wire (if bare wire, consider wrapping it in another layer of t-shirt for padding). Fold ends of wire so they don’t poke your kid’s face.


Now take a deep breath and thread that needle. I recommend a bright contrast color thread. Embrace the spirit of franken stitching. Top tips. Thread the fresh cut end of the thread–way easier! Double over your thread, because if all you do is sew on buttons and are reading these instructions the thread you have in the house is probably the crappy stuff that comes in those little hotel or drugstore repair kits. I recommend threading on no more than an arm span of thread. This makes hand sewing less frustrating, but this is because I find long thread more irritating that re-threading the needle part way threw the task. Pick your poison.

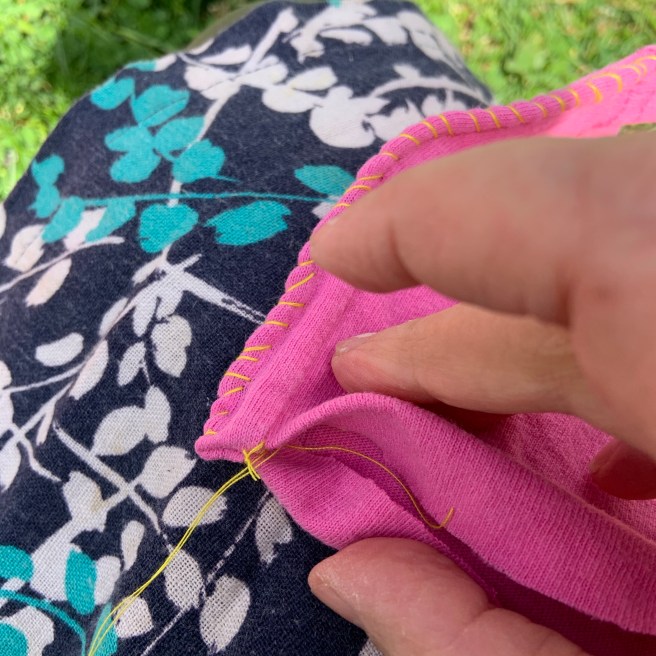
Now we start the franken-stitching (what other people call ‘hand sewing’). You don’t need to knot your thread if you sew over it. I start by putting the thread next to the pipe cleaner on the inside and then stitch over and around that pipe cleaner. I like this stitch a lot: it nicely seals the edge and is relatively easy to do without stabbing your fingers.


So now I’ve gotten to the end of my top edge and fold in the cut edges along a short side.
I’m about out of thread but I turn the corner first and then tie off. The next few pics are trying to demonstrate an easy secure tie off knot. Also notice how BIG my franken stitches are. Big stitches save time and I like to think of them adding drama to the look. This is also where I’m making my first error. I should be sewing in a strap. You’ll see later how I fix that.
Still tying off.

Knot almost done
pulled tight!
Here I’m showing you hand position for holding folded over edges together while I make my nice big stitches. If you want to get the iron out, you can iron these edges flat to make them easier to sew. I didn’t find that necessary.
Two sides done. I should have realized I needed to attach straps by now, but I haven’t!

Sewed up bottom edge same as top and side edge and when I get to the end I give a few stitches here to not have any flappy bits. Now I realize I really have to do something about straps.
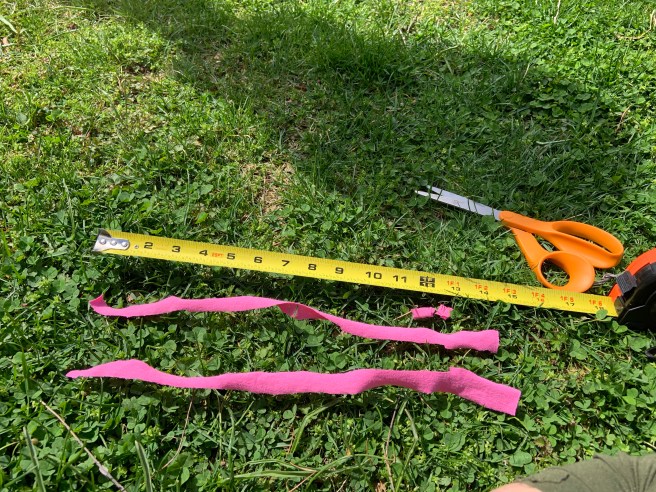
This is what I come up with. Strips of the same t-shirt with seams removed. You could franken stitch them to remove irregular edges but I’m guessing if you are still reading at this point you are NOT that much of a perfectionist. (I’m not for sure!)
Now to cut open earlier stitching to insert straps.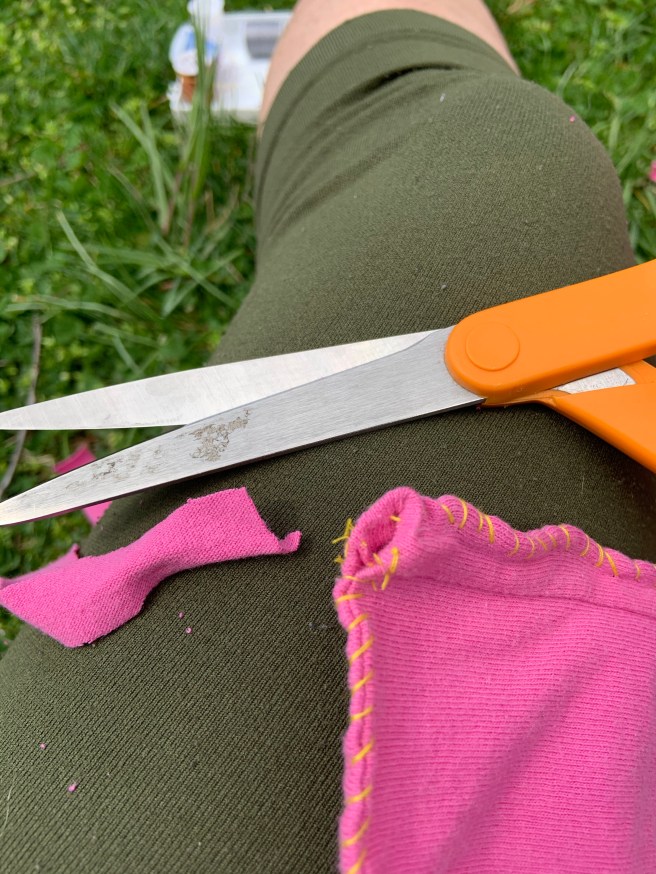
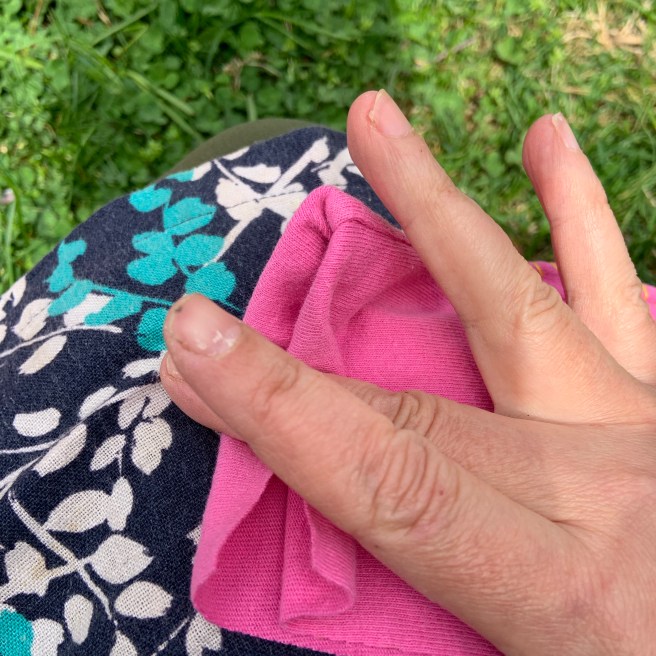
First finished product. Notice I didn’t sew that fourth side. No need to (you could if you want), and it has the advantage of allowing a filter insert if you have an appropriate material (Like a HEPA filter vacuum bag). I haven’t yet in this photo figured out the best way to tie. I learn that below and demonstrate how to get a better seal on lower mask edge.


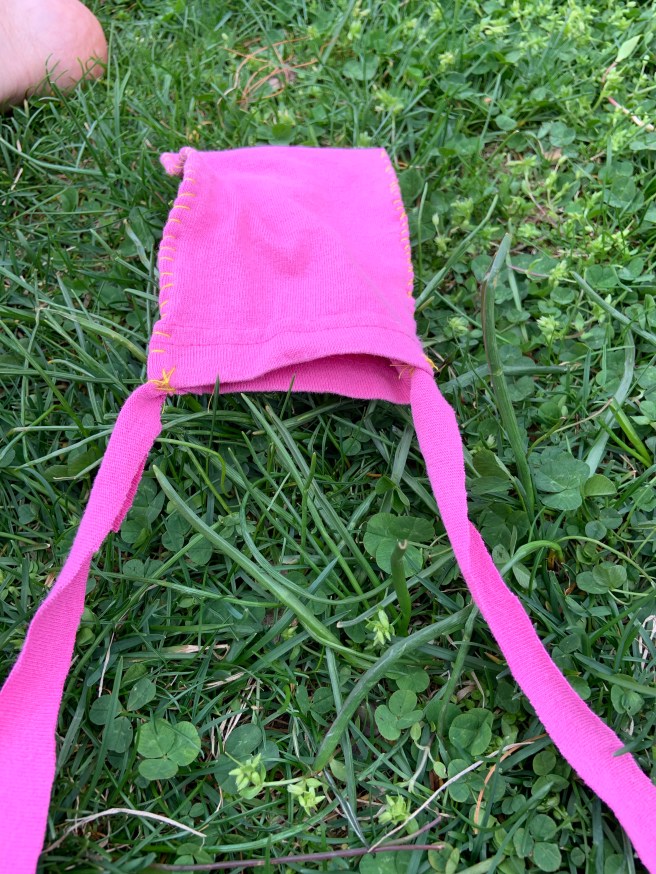
Okay second attempt goes smoother and I realize that I can add straps to pipe cleaner to hold everything in place:

At this point one kiddo takes my phone to document me:

Holding pipe cleaner and strap as I get first stitches in:

I’ve skipped about an inch of stitching on the top this time because I’m lazy like that. I hide the string inside and then start my over stitching:
Stitching close up:
What it looks like on the inside when finish top. Notice two sides aren’t even length. No problem. Easy to even up when you fold edges in.

One more close up of stitching.

Final product, second time. With tying close up. Tie top strap over ears in bow and then bring bottom strap under ears and tie at same point on head in a second bow.


